


 |
| Left: Photo by Chloe | Right: Photo by H&S Studio Co. |
Finally! The fourth and final part of my Little Devil Rin cosplay project. Oh boy, this costume has been the most time-consuming and detailed project I've done so far I don't even know where to start so I apologize for posting this way behind my planned scheduled. I had a hard time mapping out the structure on how this entire post should go.
When I first decided to make this project, I'm actually at a loss on how I'm going to put them together. It didn't help that there were only one official reference photo and not enough cosplay shots.
But I had fun experimenting new techniques, tinkering details and adding a few personal touches based on how I interpreted the entire thing. I'm quite proud with how this project turned out.

Let's do this in top to bottom order
- - - - - - - - - - - - - - - - - -

First off the crown, I already wrote a tutorial right here. For the earrings, I found a pair with a rose design at an accessories shop. I just added an additional dangling string of beads.
 |
| src |
- - - - - - - - - - - - - - - - - -
For the top I used an existing generic bodice pattern as guide and marked the tube area. The opening is placed on the back so it doesn't get in the way of the ruffles. I measured the length from armpit level to just slightly below the breast area area and added seam allowance. I Did this both on the front and back pattern then transferred the final output into fabric and sewed the pieces together. I Made another exact same piece for the inner lining but didn't sew the two pieces together just yet.
For the straps, I first need to find out how long it should be so I tried on the top that I made earlier and measured the distance from front to back where the strap should connect.

Then I cut a long piece of fabric 5cm wide and folded in 1cm on both sides like a bias tape and ironed to keep the folds in. I made four pieces of this.

I used a medium sized lace trim for the strap's side ruffles, folded them in a box pleat manner and sewed a simple running stitch to keep it in place. Then I sandwiched them between the two strips with the folded side facing each other and sewed securely in place.
Last, I sewed a long black strip on the edge of the pink side (although it might not be too obvious here but that's how it is from the official reference) for that finishing detail.

Finally I sewed all the pieces together with the straps inserted between the outer piece and the lining. As I was sewing in the hook and eyes at the back, I realized it isn't very secure to keep the top closed so I also added some snap buttons.

Test fit. I couldn't reach to close it on the back on my own so I had to switch and close it on the front. Lol it's wearable on either sides.
Now for the those ruffles around the top. First I cut a long piece of rectangular pink fabric with width the same as the top piece multiplied by two for the gather. The length is also the same measurement as the top piece but I subtracted about 3-5cm since it's going to extend the length of the top anyway and I didn't want it to be too long. I also then multiplied that by two and added the seam allowance.
 |
| Since it's very long, I had to split the measurement into two |
Then I folded it in half lengthwise and iron pressed just so I know where the center line is.

Next I marked the places where the red stripe pattern should go with fabric chalk. I only did this on one side of the fabric which is the front side and stitched them in place. Initially, I wanted an already patterned fabric but I couldn't find one anywhere in my area so had to painstakingly make one myself.

After I finished with the pattern, I folded the fabric lengthwise with the right side inwards and sew along the raw edge. Then I turned the entire thing right side out and sew across the two long edges to keep it flat. For the opening at the sides, I just folded the raw edge inwards and sew them in.
I did the exact same thing for the black one but instead of the stripe pattern, I hand painted the pink polka dots.

I drew a grid using fabric chalk as a guide and painted the dots in an every other intersection manner. I used a circle template to make sure the dots are exactly round.
 |
| my patience is as long as this fabric |

Next, I sew a small sized black lace trim at the bottom of the black piece before gathering. Making sure I didn't gather too much that I won't have enough to cover across the top.

Once that was done, I sewed the ruffles in. The pink one first and then the black underneath about 3-5 cm below.

I should have chosen a better fabric for the ruffles because after drying from the wash they would stiffen up, reducing the floof factor but so far it still looks good. Now for more detailing.
I used a lace trim measuring the distance between the two straps on the front and sewed a band of bias tape on the straight edge. As for the accent/detailing, I used this thick looking gold string(idk what it's called) and glued in place with fabric glue.

I also glued in some 5mm rhinestones on some place and the bigger ones on the top are sewed in.
 |
| the bottom two are for the gloves |
The first time I wore this costume, I didn't use a strong enough fabric glue that I ended up redoing the entire thing after it went through the wash because some glued parts kept falling apart. Lesson learned, I used E-6000 instead.
I'm not going to further elaborate how I made the bow as there are plenty of tutorials around for that. The only difference is that I added extra details.

Before forming the bow, I sewed the pink strip first on the middle part but for the gold accents I used gold satin bias tape and fabric glue because the entire thing is getting a little thick to be sewed in. I also used fabric glue to attach the leaves and hot glue for the rose then carefully hand sewed the entire thing to the top.
 |
| Aaaand here's the top's final look |
- - - - - - - - - - - - - - - - - -
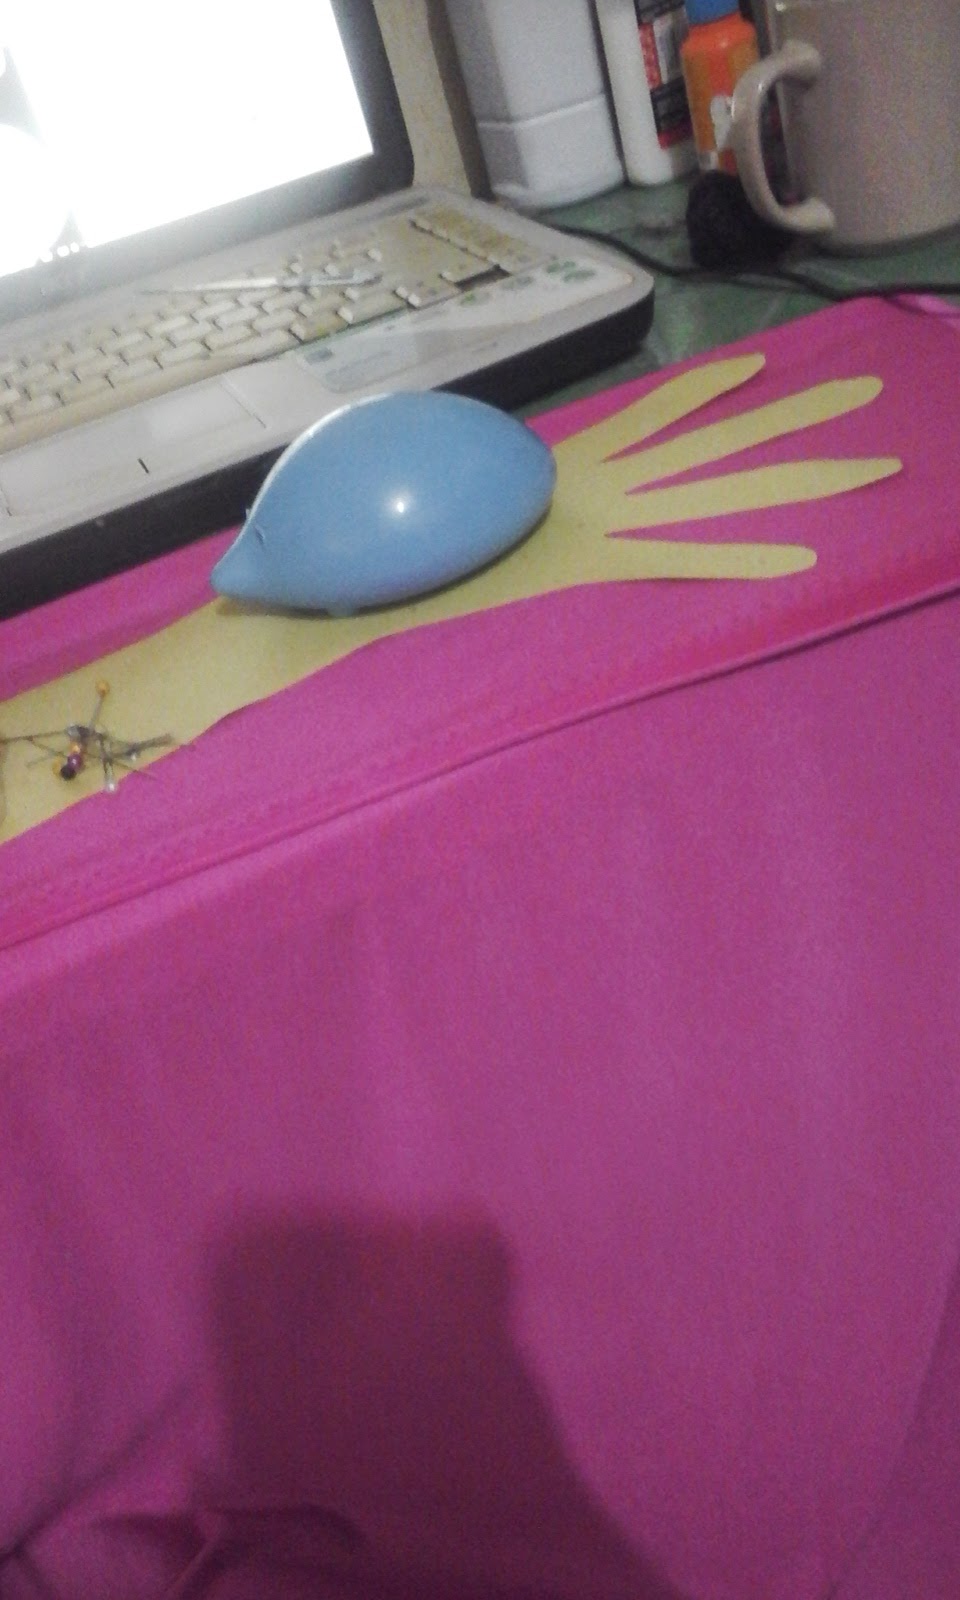
For the gloves I used a pink-colored (sort of fuchsia) spandex. Usually I just trace my entire hand and use that pattern straight up to make the gloves but this time I decided to not be lazy and followed this tutorial which is a little complicated but a more conventional way in making gloves.
Before putting them together, I ran several straight stitches along the length of the pieces with a red thread to emulate the details as close as I can from the reference. Sewing stretchy fabric on a regular sewing machine can be a bit tricky so make sure to stretch the fabric as you go along.

Next I sewed in the lace trim with gold details that I made earlier. Since it's not stretchable, I didn't sew along the entire opening and left an area at the back part to stretch when I put my hand in. The black band next to it is a 1cm wide garter and it's only attached on the back part of the glove so that it stretches along with the glove's body.

- - - - - - - - - - - - - - - - - -
For the wings, you can check my tutorial on a separate post right here.

- - - - - - - - - - - - - - - - - -
For the skirt I decided to go with a 3/4 circle skirt pattern but since it'll also be pleated, I connected two pieces of the skirt.

I also made another same exact piece for the inner lining since the skirt needs additional support for the appliqué attachment later.
 |
| have some cat |
First I sew the skirt and the lining together along the edge with the right sides facing each other. I left the top part open so that I can turn the entire thing right side out but before that, I also snipped tiny notches along the bottom hem so that it'll be easier to turn. After turning right side out, I sew along the edge again to keep it nice & flat.
 |
| that took aaaages |
Next I added the accent at the bottom with a yellow bias tape.

Usually you would need twice the measured length for a one sided pleated skirt and 3x for a full box pleat but I didn't want pleats on the entire skirt so I just kind of eyeballed how the pleats would go while making sure I still have enough to fit on me. Eventually, I decided to go for four big box pleats. One on the front, the back, and on each sides. Then added the zipper.


First, I cut off the appliqué into pieces that I can work with.and positioned them in a way that is as close to the original design as I possibly can.

I glued the fake leaves first with fabric glue before hand sewing the appliqués in. I also glued several rhinestones around it for some extra flare.

Next I made an inner skirt where I'll be attaching a lace trim. I used two layers of soft tulle with the same measurements as the skirt but this time I only used one 3/4 circle skirt since I won't be pleating it.

Using the lace trim's design as a guide, I added 4mm rhinestones with fabric glue for that extra bling.

 |
| it's tedious but also therapeutic when you're not in a rush |

It didn't end up quite as floofy as I expected since I ran out of tulle but it made the rhinestones stand up more.

Finally, I lined all the three skirts together and added the waist band.
Next is those stuff that goes around the top of the skirt. There's so much going on in this part and I honestly have no idea how everything goes around since I only have one side as a reference. I don't even know if it goes all around the skirt band or in a "cape" style where there's a small opening on the front.
In the end I used the reference as a sort of format and built my own interpretation on how the entire thing would look. The main point is that there are three major pieces that goes in it: several fake roses in different sizes, a heart piece and the white feathery/fur thing (I used feather lace).

I used two layers of black fabric (make sure to choose a stiffer fabric else it will flop from the weight of the decoratins) about twice as long as the waist measurement of the skirt and about 2-3cm wider than the waistband. Then I sewed a small lace trim on the top part.
Next I made random-sized pleats on random places until it's shortened to my desired length and sewed in place.
To connect it to the skirt I sewed in several snaps so that it can be easily detached whenever the skirt goes through the wash and for safer packing/storage.

The fake roses are made from various sizes & colors of satin ribbons. I found a really great youtube tutorial in making them. I bought the foam heart during valentines season. They were everywhere lol. It's very lightweight despite looking bulky.

The larger roses goes to the side where it's densely populated with several more smaller roses and it gradually become sparse the further away they are from the sides. I also hanged a string of beads along the hip sides. The empty spaces are filled in with feather lace.
I used hot glue, fabric glue and some hand sewing to keep them in place, whichever suits the material best.
 |
| I was honestly surprised it looks really good |
- - - - - - - - - - - - - - - - - -
For the tail, I made the heart the same way I did the heart in my devil!Rin prop tutorial but I also made a hole on the top for the tail length to insert.

For the the actual tail, I twisted several lengths of thin wires. I used the distance from my tail bone to my calf. Next I made a thin tube out of a black bias tape and inserted the wires in. Then I connected it to the heart piece I made earlier and used super glue to keep it in place.

Then I attached a hook at the end which will be connected to the eye that I've sewn on the inner back of the skirt.
- - - - - - - - - - - - - - - - - -
Finally we move on to the legs. For the leg straps I wanted to use pink shoelaces but they turned out to be more expensive and I had to use a lot of pairs to achieve my desired length so I decided to use four pieces of pink cotton bias tapes that are four yards long each.
I used two pieces of bias tape for each leg. I lined them up together with the folds facing each other and sewed them together using a small zigzag stitch. Then I marked the center where the palm of my feet will go.
Next I tried it on my leg so that I can mark where the black gradient should transition.

Next I dyed the gradient part with a black dye. I did follow several tutorials online for gradient dying but it wasn't turning out well. The color was very faded no matter how many times I redo the process so I ended up using a black sharpie to darken up the color. The straps were so long that I ran out of ink but it made for a nice fade transition and everything turned out pretty much ok.

Then I attached the center of the strap to the bottom of the ankle socks that I'll be wearing so that it wouldn't slip when I move around.

I also happen to find this really fancy pair of pink shoes at a local thrift store. It's perfectly my size and only costs 140Php it's basically a steal! I wanted to paint the bottom black just like how it should be but there isn't enough space for it so I just left it alone.

Next I glued in the fake roses on the outer side. I used super glue because I feel like hot glue wouldn't be strong enough. Then I added the10mm rhinestones (for bigger rhinestones you can choose ones that has holes in them for sewing instead of gluing it in) and sewed them in around the garter.
- - - - - - - - - - - - - - - - - -
For the prop I made a tutorial right here as well. The top is detachable so that I can pack/store it easily.

- - - - - - - - - - - - - - - - - -
Aaand that's done. I wore this costume at a con for more than seven hours (around noon till over 7pm) and surprisingly none of the pieces fell apar. I even joined the cosplay contest and did some dancing but everything is still intact. I am so proud of myself lol.
This is by far the most detailed costume I've ever made and I had a hard time trying to break apart the entire process. I might have missed and overlooked some parts so feel free to comment if you guys have any questions and I'll try to answer as clearly as I can.
 |
| photo by: Chloe |

No comments:
Post a Comment