


It took me three tries to finally make it look like how I envisioned it. It's not exactly big but it still takes up quite space so I wanted to make it travel/storage easy by making it in pieces that can be put together and apart when not in use.
This is the second part of my Hoshizora Rin Little Devil ver. cosplay project. For the complete worklog, you can check out this post.
Materials:
- 2mm Rubber sheet/ craft foam
- Thin wire
- Masking tape
- Black & Pink (wasn't available so I had to mix red & white in equal parts) paint
- Elastics (preferably black. Unfortunately I used white because I ran out because of too many mistakes)
- Fabric (color & type is up to you as long as it's not stretchy)
- Thick & sturdy cardboard
- Snap buttons
- Velcro
- Feather lace (optional)
- Tissue
Tools:
- Scissors
- Ruler
- Hot glue, Super Glue (or any strong adhesive), Plain white glue (for priming)
- Thread & needle
- Pattern paper (or any paper to sketch the pattern)
- Sandpaper
I don't exactly have any idea how the entire wings from the original reference exactly look like (there wasn't much reference photos) so it's a little bit mixed with my own personal interpretation.
The wings are divided into two parts; The wings itself and the base where you will be attaching the wings.

First sketch the pattern on a piece of paper. Make sure it's proportional to your size else it will either look too big or too small. You can cut the pattern first and test them out on a dress form or ask a friend to help out if you don't have one. I have neither (my roommate's asleep when I started this and I don't really wanna bother her at wee hours of the morning) so I just kind of eyeballed the sizing.
You can also measure half your shoulder length as hint to see how much of the wings your back will cover and work from there.

If you're satisfied with your pattern, trace it on the rubber sheet and cut. Make four pieces (because two on each side).
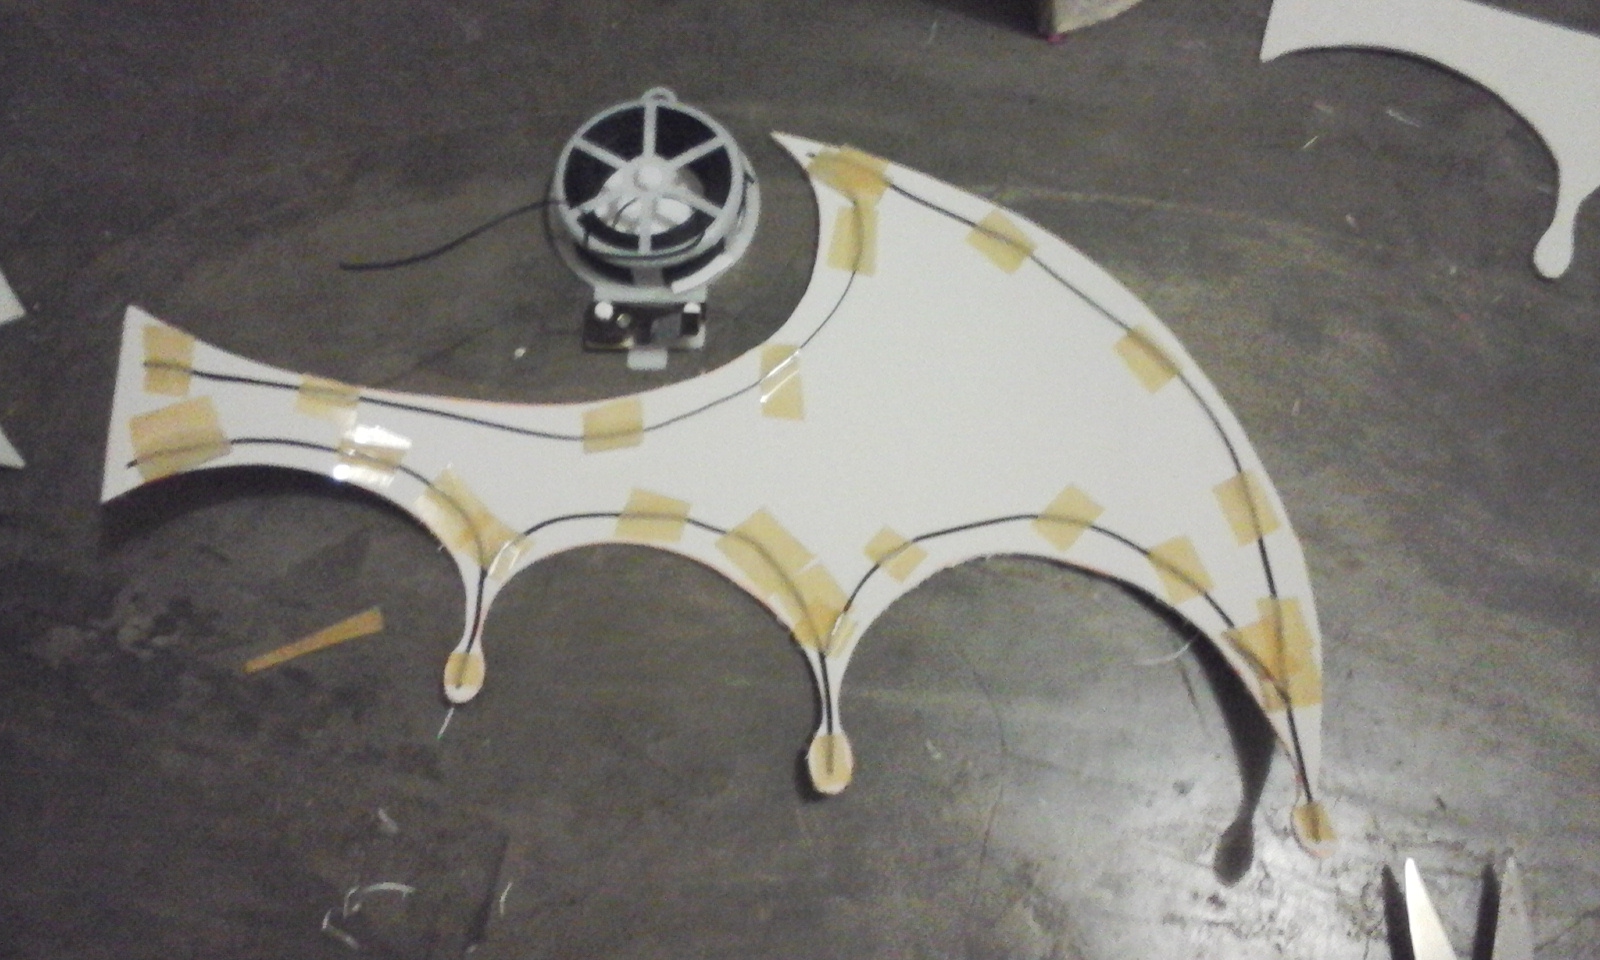
Add thin wire around the outline, at least 1cm away from the edge. Use masking tape to keep it in place. Do one for the left and one for the right. Double check to make sure you placed the wire on the correct side. This will serve as a frame. It will be sandwiched between two pieces of rubber sheet.
Stick the two pieces of rubber sheet together with a strong adhesive. As much as possible try to avoid using hot glue as it tends to add unnecessary bulk to the material. I had the misfortune to make that mistake so I had to use paper mache to hide huge gaping seams.
I also sanded down the edges a little with sandpaper for a softer look.

On the first attempt, I forgot to prime first so it ended up quite patchy and dry which I did not really want so I tried again. This is also the time I realized that I have to cover the seams with paper mache because they were too obvious.
I also figured that the inner wing (the narrow area that touches my back) was too long and will not be able to steadily hold the wings' weight so I had to cut off about 1-2 inches. I test this by holding the the narrow part, lift it up straight and see if the entire wing will be upright and not flop sideways too much (eyeball physics lol).
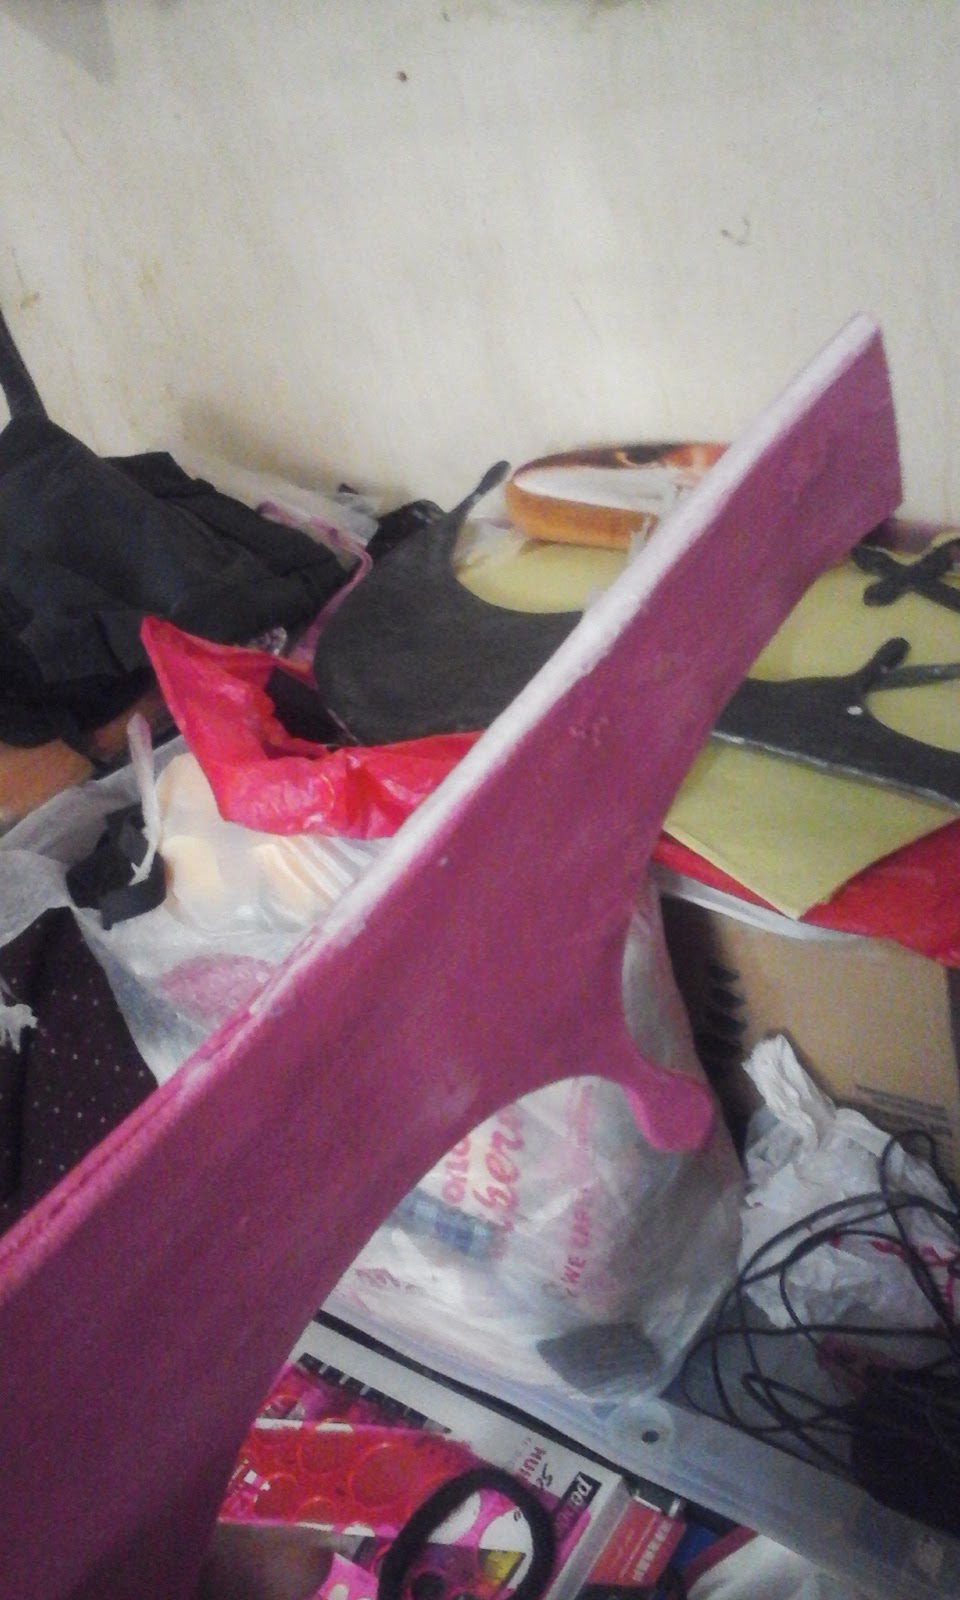
I primed the entire thing with white glue (for that sheen), repainted and let dry.

Next is to make the base where the wings will be attached. I sewed two pieces of rectangular fabric (about 6"x2.5" or wide enough to fit the narrow area of the wings close to your back with at least 2cm-3cm allowance around) with a piece of interfacing in between.
First I sew the three sides of the rectangle, turn it inside-out, inserted interfacing of the same size and close the remaining opening. I then sew around the edges again to make the sides are crisp and flat.
Make another one for the flap to hide all those sewing imperfections.

Next is attaching the harness/straps(idk what to call it). Rin's top is already small so I had to make it less obvious as possible. I don't know how other costume-makers make their wings stay on their backs but I get my idea from backpacks. Two straps for each shoulder and one across the torso to keep them from slipping off. I used an elastic for this

The middle strap is detachable and held by a small hook and eye. It also helps to wear a wired bra to keep the middle strap from being dragged upwards by the weight of the wings (especially if you don't have much in the chest department lol).

If you don't have a dress form, it's better if you have someone help you with the placement of the base of the wings. I have neither so I had to blind-guess. First I attached the shoulder straps and positioned the rectangle to sit above the costume's top. Then I positioned the middle strap right below the bust and pinned it perpendicular to the shoulder straps. Be sure to stretch the straps a little for a snug fit.

Next, trace the part of the wing that will be attached to the base with fabric chalk. This way we'll know where to put the snaps to attach the wings. Be sure not to place too close to the long edge, we'll be needing that space for later.
Sew in the flap. Make sure it doesn't get in the way of the snaps.

Then sew the snaps on the inside corners of the outline (at least 0.5cm away) and its corresponding pair on the wings.
 |
| Make sure not to place the wrong color on the wrong side and the snaps are sewed on the correct side |
In sewing snaps to the wings:
> Be sure to use a thicker needle when sewing through the rubber sheets.
> Don't use glue (hot glue, super glue, etc) for the snaps, it'll be no good.
> Make sure not to use too much stitches when you sew the snaps on the rubber sheet. It will weaken and tear.
> After you finish sewing, seal the stitches at the back with super glue to reduce thread movement that might weaken the material.
And finally sew in the velcros at the bottom. It will keep the flap close after the wings are attached.

When I tried and tested it, I realized that fabric with interfacing is not enough to hold the wings steady. It keeps on flopping out of control and the fabric base cannot hold it in place. So I had to make a sturdier base.

Fortunately, I found a really hard 2mm thick cardboard in my arsenal. I cut it out into the same size as my fabric base and then reinforced with another layer of rubber sheet (your back might sweat and no matter how sturdy a cardboard is, it's still weak against liquids).
I joined it together first with white glue just to keep it in place before integrating it to the fabric base.

I don't trust any glue to hold them together and carry the weight of the wings so I decided to sew it by hand (take note that the rubber sheet is the one that should be in contact with your back skin). The material altogether was really thick and hard to sew by hand so first I had to punch a series of small holes around the edge of the board where the thread will go through. It'll be difficult by hand alone so I used the needle of a sewing machine. I removed the foot first, placed the board underneath and then used the knob to gently lower the needle and punch a hole through the material. It'll be hard to see the holes through the fabric though so I used a pin to mark where the needle should go through.
I sewed them together with back stitch.

Next I added feather lace on the front of the flap for a little bit of design. I did sew them on first but the velcro at the bottom got in the way so I ended up using hot glue instead. Either method works.

That's about it. If you're alone, you can assemble the wings first then put them on before wearing the costume top. However it's better if you just put the base first, the costume top and then ask somebody to attach the wings after. This way you'll have someone make sure that the entire thing is properly placed on your back.

The straps should be hidden underneath the costume so it should be worn first before the costume top. Unfortunately, some parts of the straps can be seen at the back so it's better if you have elastics with a color that complements the costume.

For further questions, feel free to comment below :)

No comments:
Post a Comment